December 23, 2024
How to host your own static site on Cloudflare Pages
I recently set up a GitHub repo with some static content and published it to Cloudflare Pages. It was quick and easy, and the best thing is that it cost me $0. In this post, I’ll walk you through how to do the same.
Step 1: Get your content onto GitHub
First, have your static content on GitHub ready to go. This could be a collection of HTML, CSS, JavaScript files, or a project that can generate static content such as Next.js.
Step 2: Create a Cloudflare Account
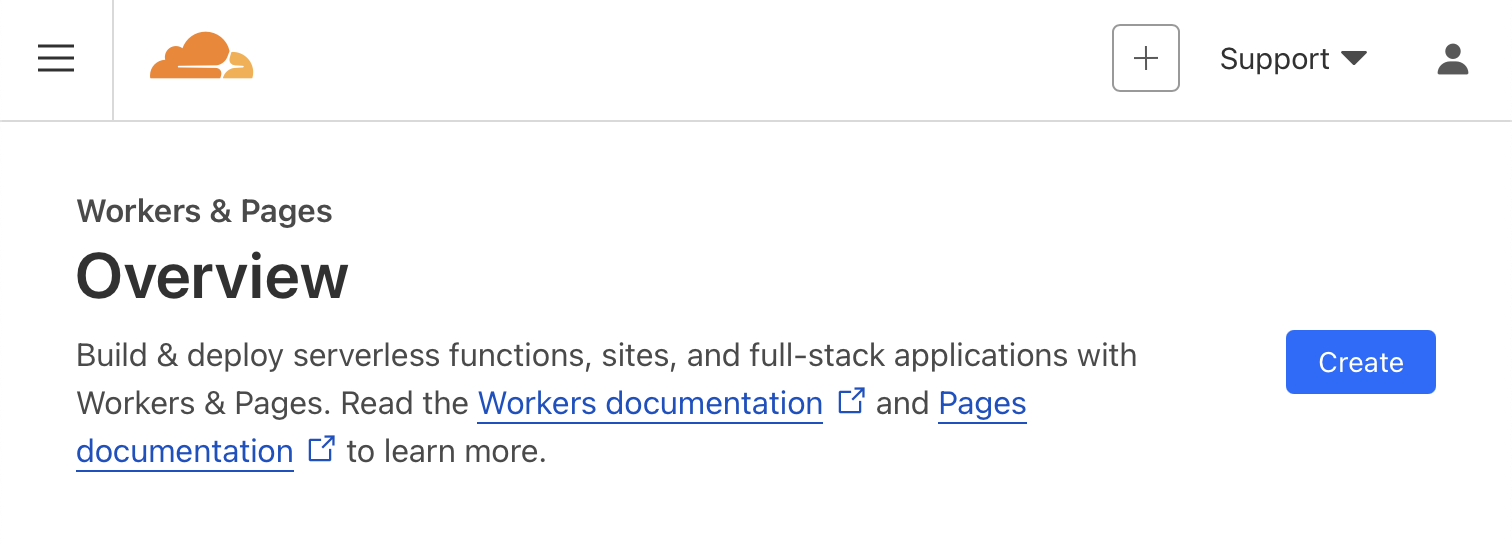
Create a Cloudflare account if you don't already have one. Once logged in, navigate to Workers & Pages in the Cloudflare dashboard.
Step 3: Connect Your GitHub Repository
Click Create on the Workers & Pages in the Cloudflare Pages dashboard and click Connect to Git.

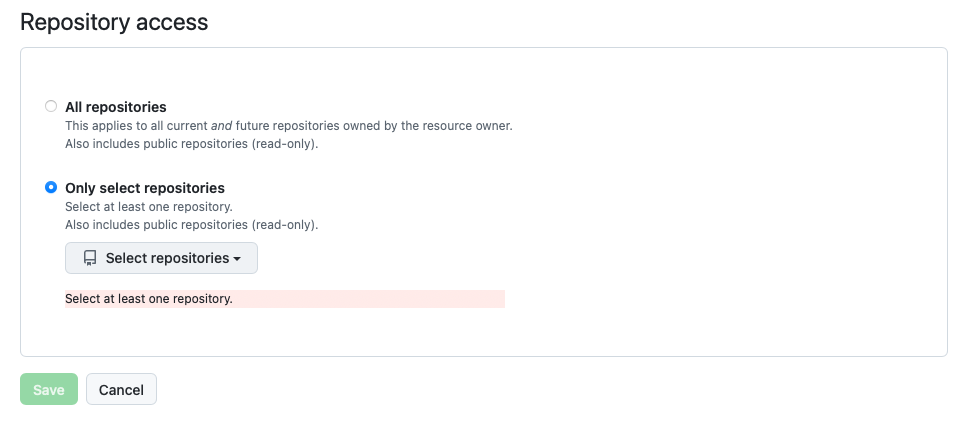
Select Connect to GitHub and authorize Cloudflare to access your repositories. Once connected, you’ll see a list of repositories you can choose from. If this is a private repository, then you'll have to grant the Cloudflare App access to them in GitHub.
Step 4: Set up build configuration
This is where you configure:
- which branch you want Cloudflare to deploy from
- the build command you want Cloudflare to run for each build
- and other build configurations (e.g. API tokens)
To keep it simple, keep it as main for the branch. This means each time there is a new commit to the main branch, Cloudflare will push out those changes to your site.
If you are using a static site generator e.g Next.js, then you will also want to set the build command here to run the build e.g. npm run build.
Step 5: Save and deploy
Cloudflare Pages will now build and deploy your site. It automatically generates a public URL for your site e.g yourproject.pages.dev.
Why choose Cloudflare Pages?
- Free for Static Sites: Cloudflare Pages offers a free tier perfect for personal projects or lightweight sites, with no hidden costs.
- Global Content Delivery: Your site is served through Cloudflare’s CDN, ensuring fast load times for visitors anywhere in the world.
- Automatic Updates: Changes pushed to your GitHub branch trigger automatic rebuilds and deployments, keeping your site up-to-date without manual effort.
Overall, Cloudflare Pages makes deploying static sites quick and effortless. Whether you’re building a personal portfolio, a blog, or any simple website, this platform provides the tools you need to go live in minutes. Give it a try and see how easy it is to create your own site!